RadSmart Receiver Installation and Configuration Guide 🛠️
Installation Links 🔗
- 64 Bit Version: Download Here 📥
- 32 Bit Version: Download Here 📥
Installation Steps 📋
Step 1: Run Installer
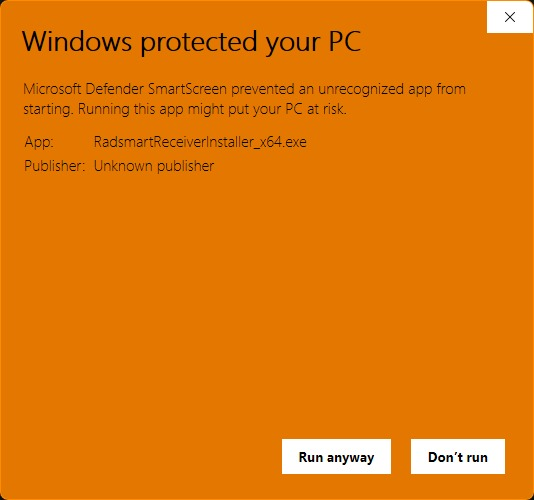
When the Windows security prompt appears, click Run anyway to proceed.
warning
If Windows blocks the installer, click More info and then Run anyway to continue.
Step 2: Select Destination Location

- Choose the installation directory (default:
C:\RadsmartReceiverrecommended). - Prefer the
C:\drive over other drives when choosing the destination folder, as it typically has broader permission access. - Click Next.
Step 3: Select Start Menu Folder
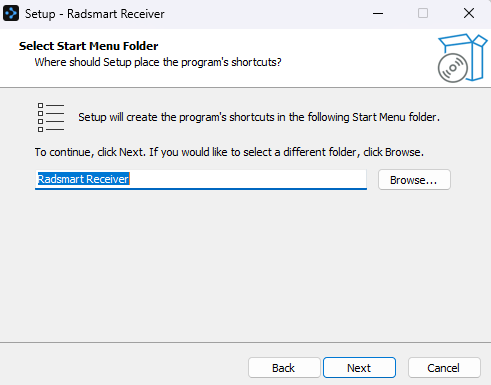
- Choose the Start Menu folder name (default: Radsmart Receiver).
- Click Next.
Step 4: Select Additional Tasks
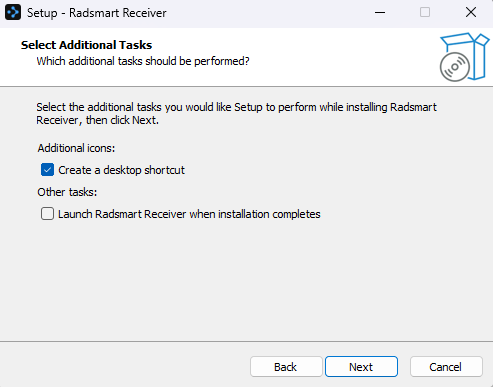
Check options as needed:
- Create a desktop shortcut
- Launch after installation
Click Next.
Step 5: Configure Service Name
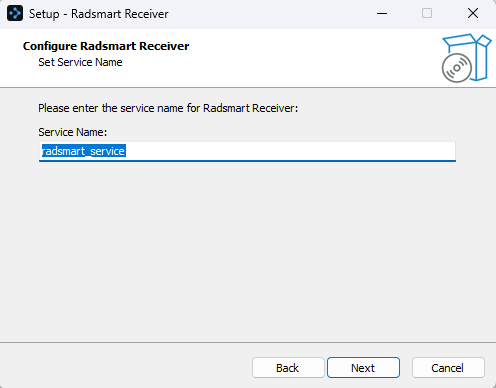
- Enter the service name:
radsmart_service(default recommended). - Click Next.
Quick tip
If the same application instance is already installed and uses radsmart_service, choose a different service name to avoid a conflict with the existing service.
Step 6: Ready to Install
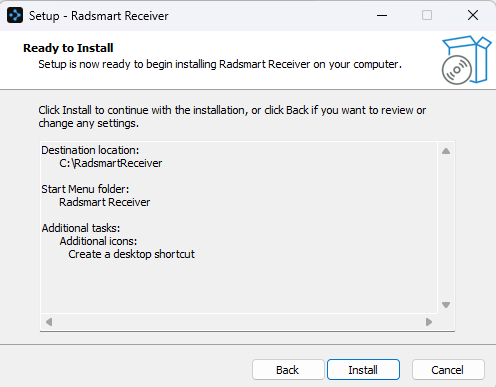
Review all settings:
- Installation path
- Start menu folder
- Selected tasks
Click Install.
Step 7: Create Shortcut Name
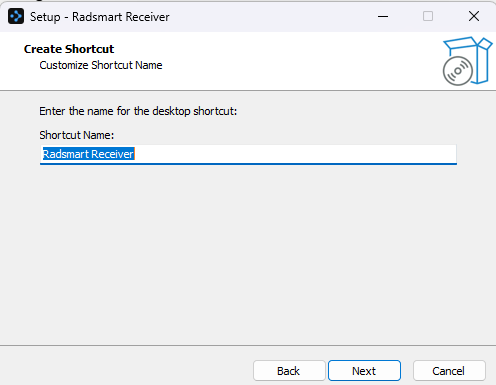
- Enter shortcut name (default: Radsmart Receiver).
- Click Next / Finish.